

The BTO renovation timeline at a glance
Start planning before key collection. Shortlist firms, set your budget and decide what to keep while you wait. After collecting the keys, inspect and report defects, confirm the flat’s measurements and lock the scope. Start work once the relevant defects are resolved or cleared to proceed, your contractor is ready and any required permits are in place.
Use two dates: the contractor’s expected handover date and the date you can actually move in. The second also depends on snagging, cleaning, appliance delivery and whether the home is usable. Ask what the programme assumes about defects, approvals and materials before committing to a mover or ending a tenancy.
Swipe to see the full table →
| Stage | What to do | Ready to move on when… |
|---|---|---|
| Before keys | Set scope, shortlist firms and compare quotations. | You know what is included and who owns the next steps. |
| After keys | Document the flat, report defects and verify dimensions. | Affected works are cleared to proceed and the site measurements are recorded. |
| Before work | Sign off drawings and confirm any required permits and long-lead items. | The contractor has a scope, programme and approval status you can check. |
| During works | Check concealed services, joinery drawings and changes. | Installations are complete and ready for testing. |
| Before moving | Test, snag, clean and coordinate deliveries. | Essential services work and remaining issues have owners and dates. |
Work backwards from the date you need the home
Ask for three dates on one sheet: when the site is ready, when contracted work can finish, and when you can move. For example, if your builder’s project-specific programme says eight weeks from site readiness and your cleaner and deliveries need another week, count nine weeks from that readiness date. If a repair pushes readiness back by two weeks and nothing can overlap, your move also shifts by two weeks. This is a scheduling example, not a typical duration or a permit window.
If your lease ends on a fixed date, discuss a smaller move-in scope with the contractor early. It may be possible to move in once the home is safe and functional and schedule some freestanding furniture later. Ask which works still need a vacant flat before you make that decision.
Before key collection: decide what stays
Start with the flat you bought. Pull out the sales documents, floor plan and any Optional Component Scheme selections. Check which doors, floors, fittings and other finishes are included. Keeping a finish that suits you can take several trades out of the quote, and leaves more of the budget for things you use every day.
Write a one-page brief
- How you live: how many people cook together, where you work, where laundry dries and what needs a permanent storage spot.
- What you need on day one: lighting, sleeping arrangements, working kitchen and bathrooms, safe power and basic storage.
- What can wait: loose furniture, a feature wall or cabinetry you can add after you have lived in the flat.
- What the budget covers: separate contracted works from appliances, furniture, moving costs and contingency. Use the Singapore renovation cost guide to set a starting range.
Send the same brief to shortlisted firms. Ask each to show what it would retain, what it would change and what it cannot price until a site visit. Compare the itemised renovation quotes before committing to a deposit or an order for bespoke items.
Key collection: inspect before covering anything

HDB says newly completed flats have a one-year Defects Liability Period from key collection. It asks homeowners to report defects within one month of collecting keys and before renovation starts. Treat the one-month reporting guidance and the one-year coverage period as separate things. Follow the reporting instructions for your project and keep the acknowledgement or case number. Read HDB’s defect rectification guidance.
Walk through in daylight
- Doors and windows: open, close and lock each one; note alignment, visible damage and any hardware that sticks.
- Walls, ceilings and supplied finishes: photograph chips, cracks, stains and uneven or damaged areas. Label the room and location.
- Wet areas: look for visible leaks and drainage issues where testing is safe and utilities are available. Record what you could not check.
- Services: record what was supplied, and get the relevant trade to assess anything that calls for testing or specialist judgement.
For each issue, take a wide photo and a close-up. Note what you observed without guessing the cause. On reinspection, update the issue log and confirm which areas are ready. If you are thinking of starting work while rectification is pending, check first with HDB or the project’s Building Service Centre and your contractor so you do not cover or disturb the affected areas.
Freeze the layout and check HDB permissions
Measure the actual flat before ordering carpentry, glass or anything designed to fit wall to wall. Check clearances where people use the home: a fridge door beside a wall, the washing machine’s service access, a drawer opposite a passage and the space a dining chair needs when pulled out. Record the appliance model numbers and manufacturer clearance requirements on the drawings.
Three sign-offs to get in writing
- Layout: doors and openings, retained finishes, furniture clearances and final dimensions.
- Services: sockets, switches, lighting circuits, water points and accessible maintenance locations.
- Finishes and joinery: material codes, elevations, cabinet internals, hardware and the drawings approved for fabrication.
Use a contractor listed in HDB’s Directory of Renovation Contractors and check whether each proposed item needs a permit. For example, altering or hacking walls requires approval. HDB restricts removal of supplied bathroom wall and floor finishes in new flats during the first three years; check your block and proposed work before pricing a bathroom redesign. The permit completion window for new flats is separate from your overall key-to-move-in timeline. See HDB’s MyNiceHome renovation guide.
During renovation: check the work before it disappears
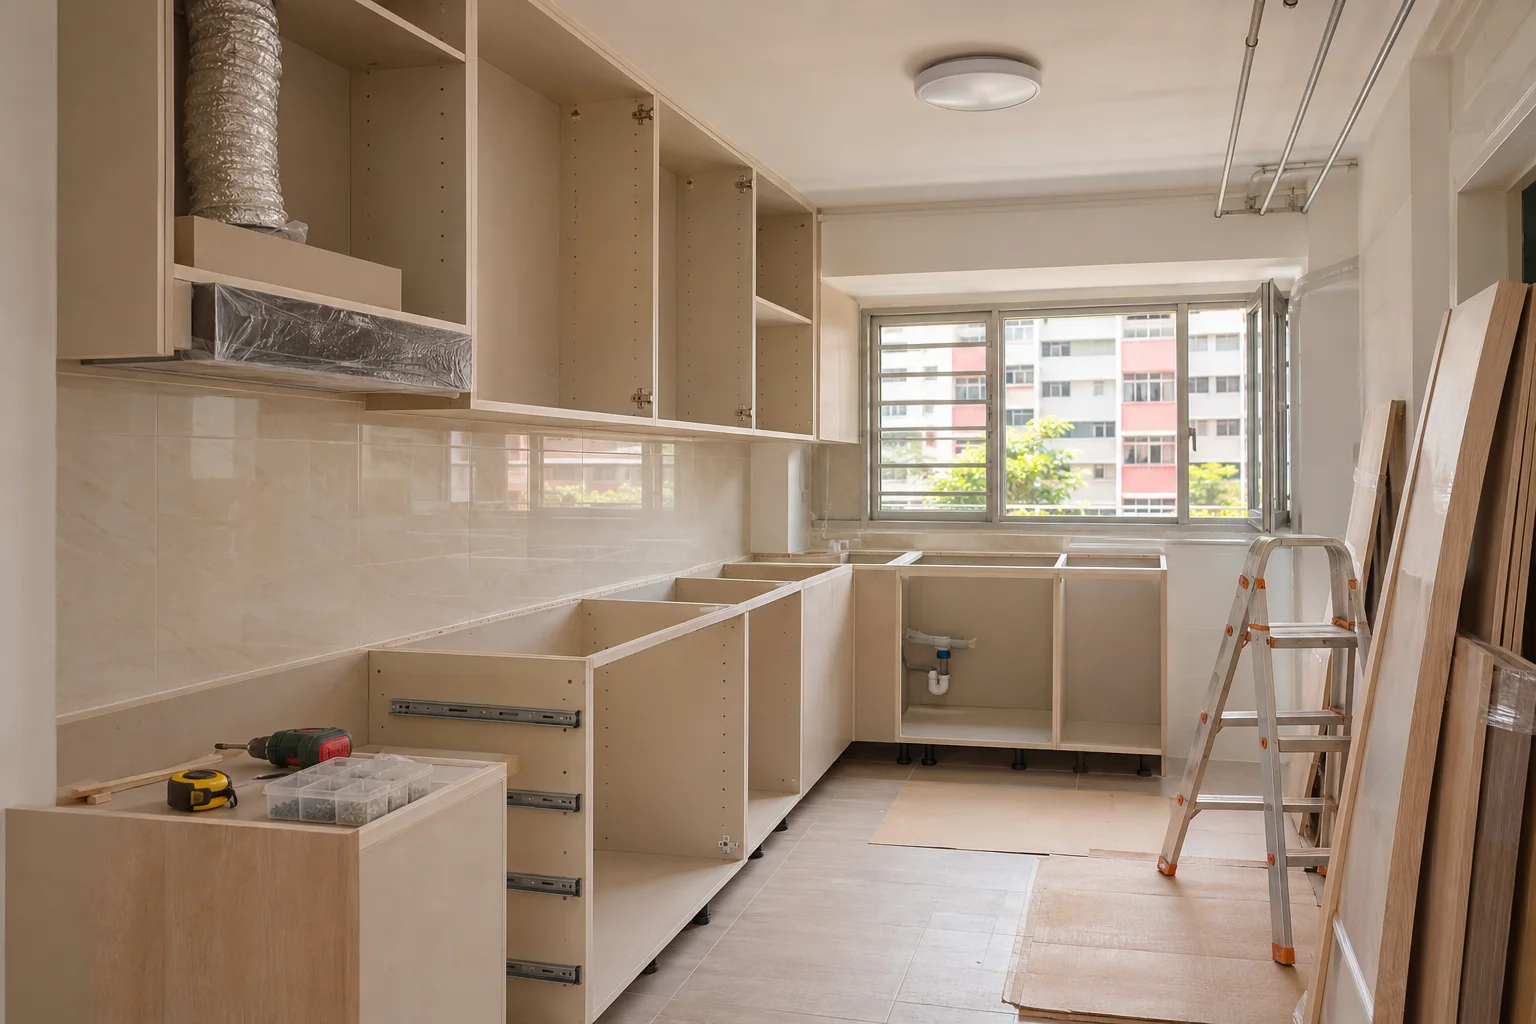
Ask the contractor to show the order for your job. Approved demolition and preparatory works may come first, followed by services and wet works, then finishes and joinery, fixtures and testing. Several tasks can overlap, and some depend on site conditions or the products specified. The order matters more than an attractive week-by-week chart.
Swipe to see the full table →
| Checkpoint | What to ask for |
|---|---|
| Before concealment | Photos of relevant routes or installations and confirmation that the agreed trade checks were completed. |
| Before fabrication | Final signed drawings, appliance dimensions, material codes and hardware specifications. |
| Before a change | A written description, price change and impact on the programme. |
| Before final handover | A joint walk-through, outstanding items list and applicable warranty information. |
Hold a short progress check against the programme each week: what finished, what starts next, what decision is needed from you, and whether the handover date has moved. If it has, ask which dependent tasks are affected so you can rearrange deliveries in the right order.
Handover and move-in: test the home as you’ll use it
Do the walk-through with the contractor. Turn on agreed lights and switches, run taps, check drainage, open cabinets and drawers fully, and check appliances and fittings that form part of the contracted work. Have qualified trades investigate anything involving safety or services. Photograph defects, note the agreed remedy and set a reinspection date. Tie payments to the contract’s agreed milestones and terms.
Collect keys and access devices, finish references, relevant manuals, warranty details and contacts for aftercare. Plan post-renovation cleaning and leave delivery clearance for large items. Where practical, bring the bed, fridge and other move-in essentials in before the optional furniture. Keep the handover list somewhere you can find it a few weeks later.
BTO renovation timeline FAQs
Can I engage an interior designer before collecting my keys?
Yes. You can shortlist firms, prepare a brief and develop a preliminary design before key collection. Make clear which dimensions, supplied finishes and approvals still need confirmation before placing bespoke orders or starting work.
How long does a BTO renovation take from key collection?
There is no single reliable duration. Count time for inspection and rectification, design sign-off, required permits, site work, testing and move-in. Ask the firm for dates against your scope and for the items that could shift them.
Should I do a defects check before renovation?
Yes. HDB asks owners to report defects within one month of key collection and before renovation starts. Use the inspection checklist before work covers original finishes.
Can I renovate the bathrooms in a new BTO?
You can plan permitted upgrades, but there are restrictions on removing supplied bathroom finishes during the first three years. Check your block’s requirements and scope before committing to the work.
Sources and further reading
Images are AI-generated editorial illustrations.